Tuesday, October 2, 2012

New Welder

Wow it's been a while since I've posted. Well here's what's happened since the last one. Not much I'm afraid. Got a new welder...TA DAAA!!!!

It's an Everlast Power Tig 200DX and here's what the control panel looks like close up. Lots of knobs and switches to play with means lots of fun to be had.

Here's a photo of the insanely huge torch that it comes with. This will be the first thing that gets upgraded on the welder. The bank has to recuperate first though.

Here's my first project. I cut up and sand blasted the previous owners TC Brothers Battery box to make it work for my electronics enclosure. After all the cutting I obviously had to weld it all back up. Here's the base of the box all welded up.

Here's a photo of the sheet of steel I used to make the top. It's all cut up and ready to be folded up.

Sheet of steel all folded up via the use of a BFH and a block of wood.

Finish shot of the box with lid.

More to come at a much later day. Have vacation coming up as well as another week long work trip. Probably get back into the garage just in time to loose feeling in my fingers due to the temperature.

Tuesday, August 14, 2012

It's been too long

Alright, so it's been a while. Sorry about that. But with work, family vacation, etc. etc. it's been hard getting into the garage to get some work done. Regardless here is a brief update on what I've been doing with the bike.

Fired up the old propane fuel forge for some iron work. Was probably not the best of ideas on a 90 degree day but it had to be done.

Here's the only photo I took after forging was done. Was just too damn hot and sweaty to take any more. Bent, tapered, shaped, and drilled the rear fender stays on the swing arm.

After I got a drink of water and cooled down I fabricated up a quick fender stay for the third anchor point to make it good and solid. As it turns out I'm going to have to shape the fender a little bit in order to adjust that downward angle of the rear blinkers in the photo above. Have as of yet to accomplish this.

Here are a couple photos of the first attempt at a gauge cluster mount for the speedo and tach.


Yeah, it ended up having to mount the gauges crooked. Was going to deal with until I came up with a better idea. Turns out my Dad came up with a better idea sooner than I could. Hence why these are photos of the FIRST gauge cluster mount.

First attempt at front blinker mounts. Have since come up with a better idea. Again by good ole Dad.


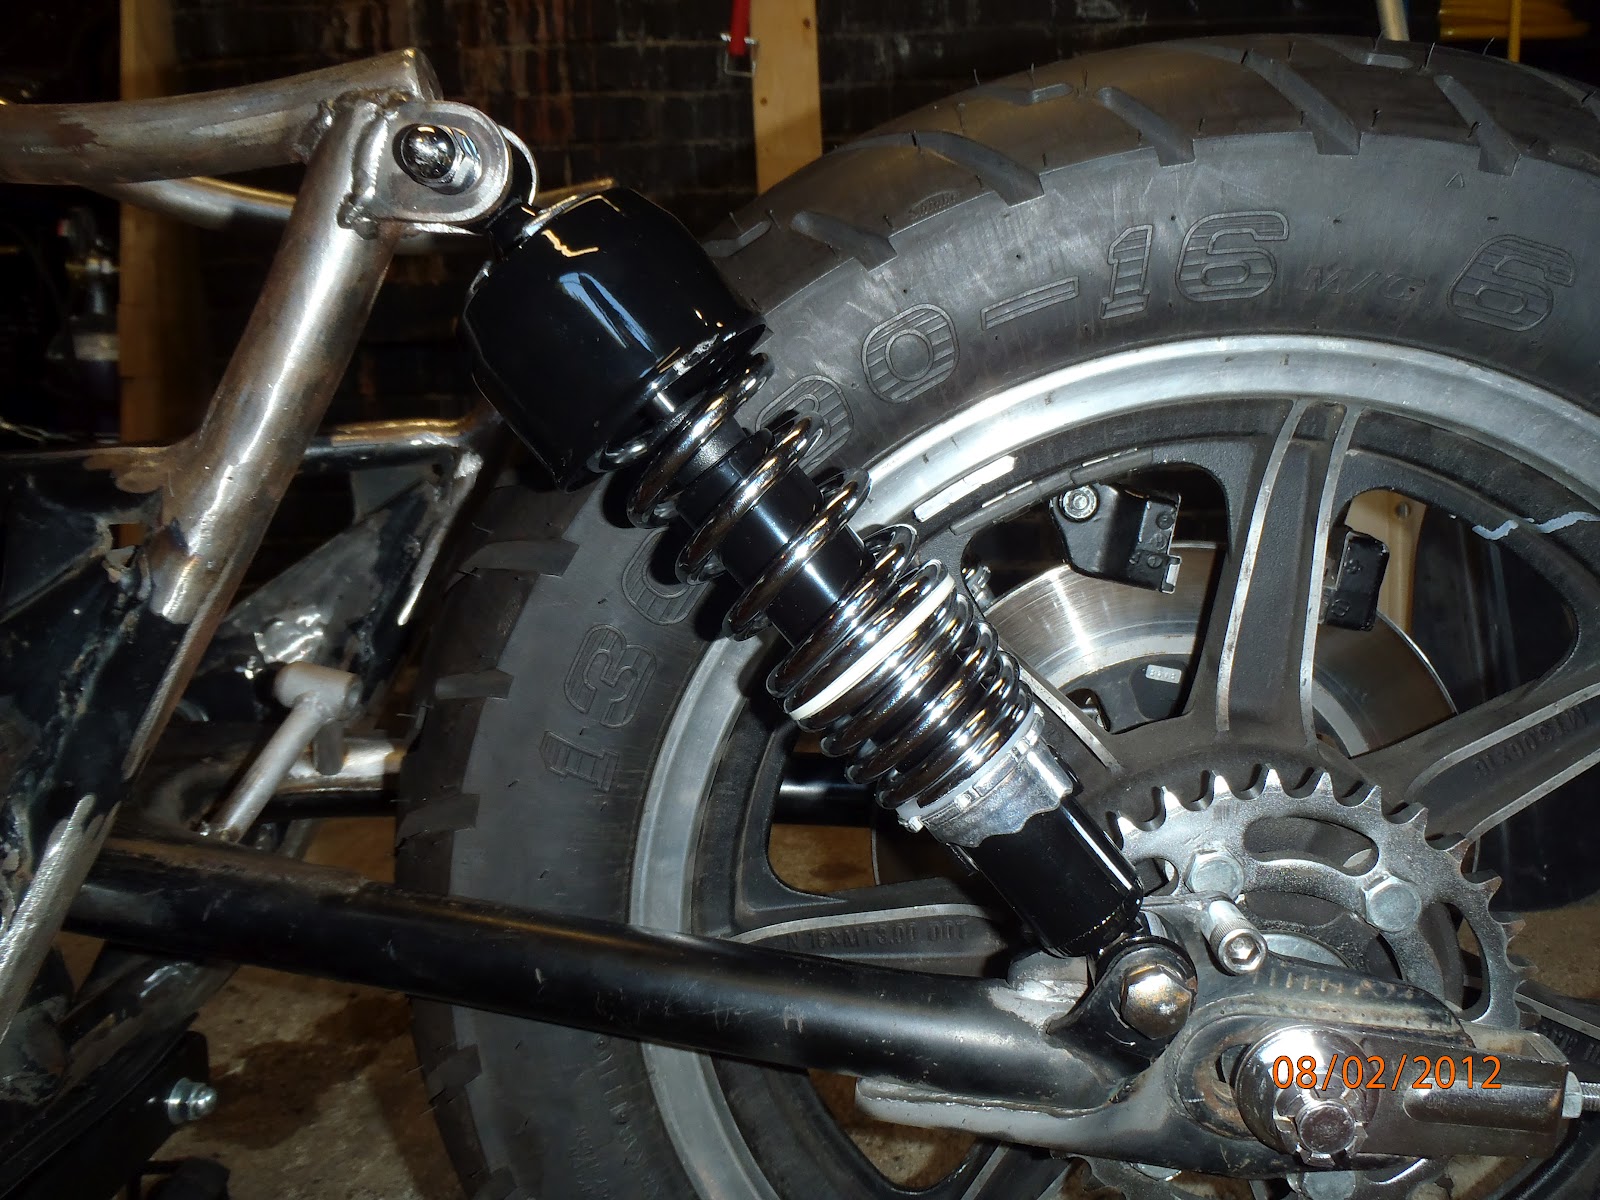
Nasty oil covered failing 30+ year old rear shocks.

New cheepies but I figured they are probably better than the stockers.

After all that work I found out my clutch was stuck and the rear fender hit the seat spring mounting bar. Had to take the engine out of the frame and do a ton of cutting to get the steel out. Bummer. Three steps forward and two back. Live and learn I guess.

So here's how I came up with the new front blinker mount. Take a 3/8"-16 bolt....

Mount it in the drill press and drill out the middle, cut the head off, cut threads and shank to length...

Insert into a 1/2" O.D. hollow tube from the Depot....

Blinkers thread onto the bolts. The hollow bolts allow the wire of the blinker to pass through into the tube. The bolts will be welded into the tube with plug welds when I've finally decided on size, spacing, and location of the light bar.

Rough idea of how the blinker bar looks in relation to the front end. Location yet to be determined.

New hard mounting of the seat to the seat rails.

I redid the swing arm mounting of the fender stays to look and fit better.

New gauge cluster mount. Fabricated out of 3/16" plate. Single solid piece cut and shaped with hand tools. That took nearly an entire day. Not very fun to do by hand in the middle of the summer in a garage without AC.

Front view of the gauges. Much better now that they are straight.

Re-made the headlight mount to mount the light higher in the trees.

Got a different rear master cylinder. Details on how and where this is mounting to come in the future.

Hand made and stitched in Dexter Maine black leather tool bag for $40. Was blown away to find this while on family vaca. Couldn't pass this bad boy up.

Motor removed from the frame and put on the bench for service.

Got the side cover off to get access to the clutch. Plates were nice and stuck together but otherwise appear to be in good working order. Just need to clean out all the oil sludge, redo the gaskets, nice oil change, clean up all the chain/road sludge on the other side and get her put all back together.

Well that's the long/short version of whats been going on with the bike build. I'll keep ya'll posted.

Tuesday, June 5, 2012

The dreaded electronics

Most people dread the "Electronics" section of a bike project. I'm a bit odd in this regard. It's been one of my favorite sections. The reason for this is because I enjoy electronics. For christ sakes, I build an under water ROV for my senior project in college. Yes, I'm a geek. No need for you to point it out. I'm well aware ;-)
 My "work bench" at the start of wiring everything up.
 I got so into making everything that I forgot to take time to eat, let along take pictures. Here's the final result. Small capacitor bank to place of the battery. It's a total of 60mF. Black box is the super secret relay used for super secret things. If I told you what's it for I'd have to kill you. A main fuse and then all the accessory fuses. The other bit of wiring there between the relay and fuses is the 555 timer I used to build a flasher relay to work no matter if the flashers are LED or normal bulb operation. Like I said...geek.
Here's the start of the final enclosure of the electronics above. A piece of straight through 3" exhaust pipe on the right. On the left is a 3" inner diameter exhaust pipe coupler.
 Cut 1" off each end of the coupler and this is the result.
 Now take a piece of 14 gauge sheet metal and use the grinder for over an hour and you'll find there were two 3" flat disks inside that sheet. Neat trick huh?
Those metal disks will then be welded to the 1" sections cut off of the coupler. You see what I did there? I made custom end caps for under $6. More to come later. But for now I must consume pizza and beer!!!

Monday, May 28, 2012

Seat and exhaust

Quick update this morning before heading off for memorial day cookout. Got the seat and rear exhaust mounts figured.
 Overall view of the seat all upholstered and rear exhaust mounts.
 Close up of the seat. Didn't come out too bad. Have to figure some stuff out though.
 Like how to get rid of the ugliness here in the back. I don't have the benefit of how more modern bikes hide this effect of upholstery. I'll figure something out.
Close up of the hardware used to secure the mufflers on the tail end.

Friday, May 11, 2012

A few small things

Alright so here's an update on some of the small things I've done since the last post.
Removed the old resign swing arm bushings and rusted out swing arm sleeve. Didn't take a picture but installed the new brass bushings, tube, and shaft.
 Built a rear brake lever stop so that the actuating piston wont fall out while riding. Loosing brakes is bad!
Here's a picture of where it will be installed. I just need to weld it in, but it's cramped quarters with the tire and swing arm still attached. Will be welded on when I disassemble the bike again.
 Installed the chain so that I could figure a few things out such as spacing for fenders, electronics enclosures, and other assorted goodies down the road.
 Sort of hard to see but I made an axle spacer out of a 3/4" fender washer. Ground down the outer diameter so it wouldn't look so damn strange.
 I also had to make a swing arm spacer. You can see it here below the chain in the picture. It's the really thing shinny piece of metal in there.
 Here's the mock up of what I hope to be my electronics box for the bike. It will hold the capacitor that will replace the battery, fuses, flasher, and my super secret relay trick for some fun features.
 The welding is sort of ugly since I was trying like hell to not burn through the 16 guage steel so I was motoring along. It was all about fusing the metal and not about looks. It wont be easily seen anyways. But yeah, that ugly bit of metal is what is going to be welded to the frame to hold my electronics box.
And here's where the box is going to be mounted. Yeah, it's a little cramped in there. So it too will be welded into place when I disassemble the bike again.

That's it for now. Ride safe everyone.